Enhancing the look of your RV isn’t overly difficult. In fact, you can make varying degrees of changes that range from really easy to quite difficult.
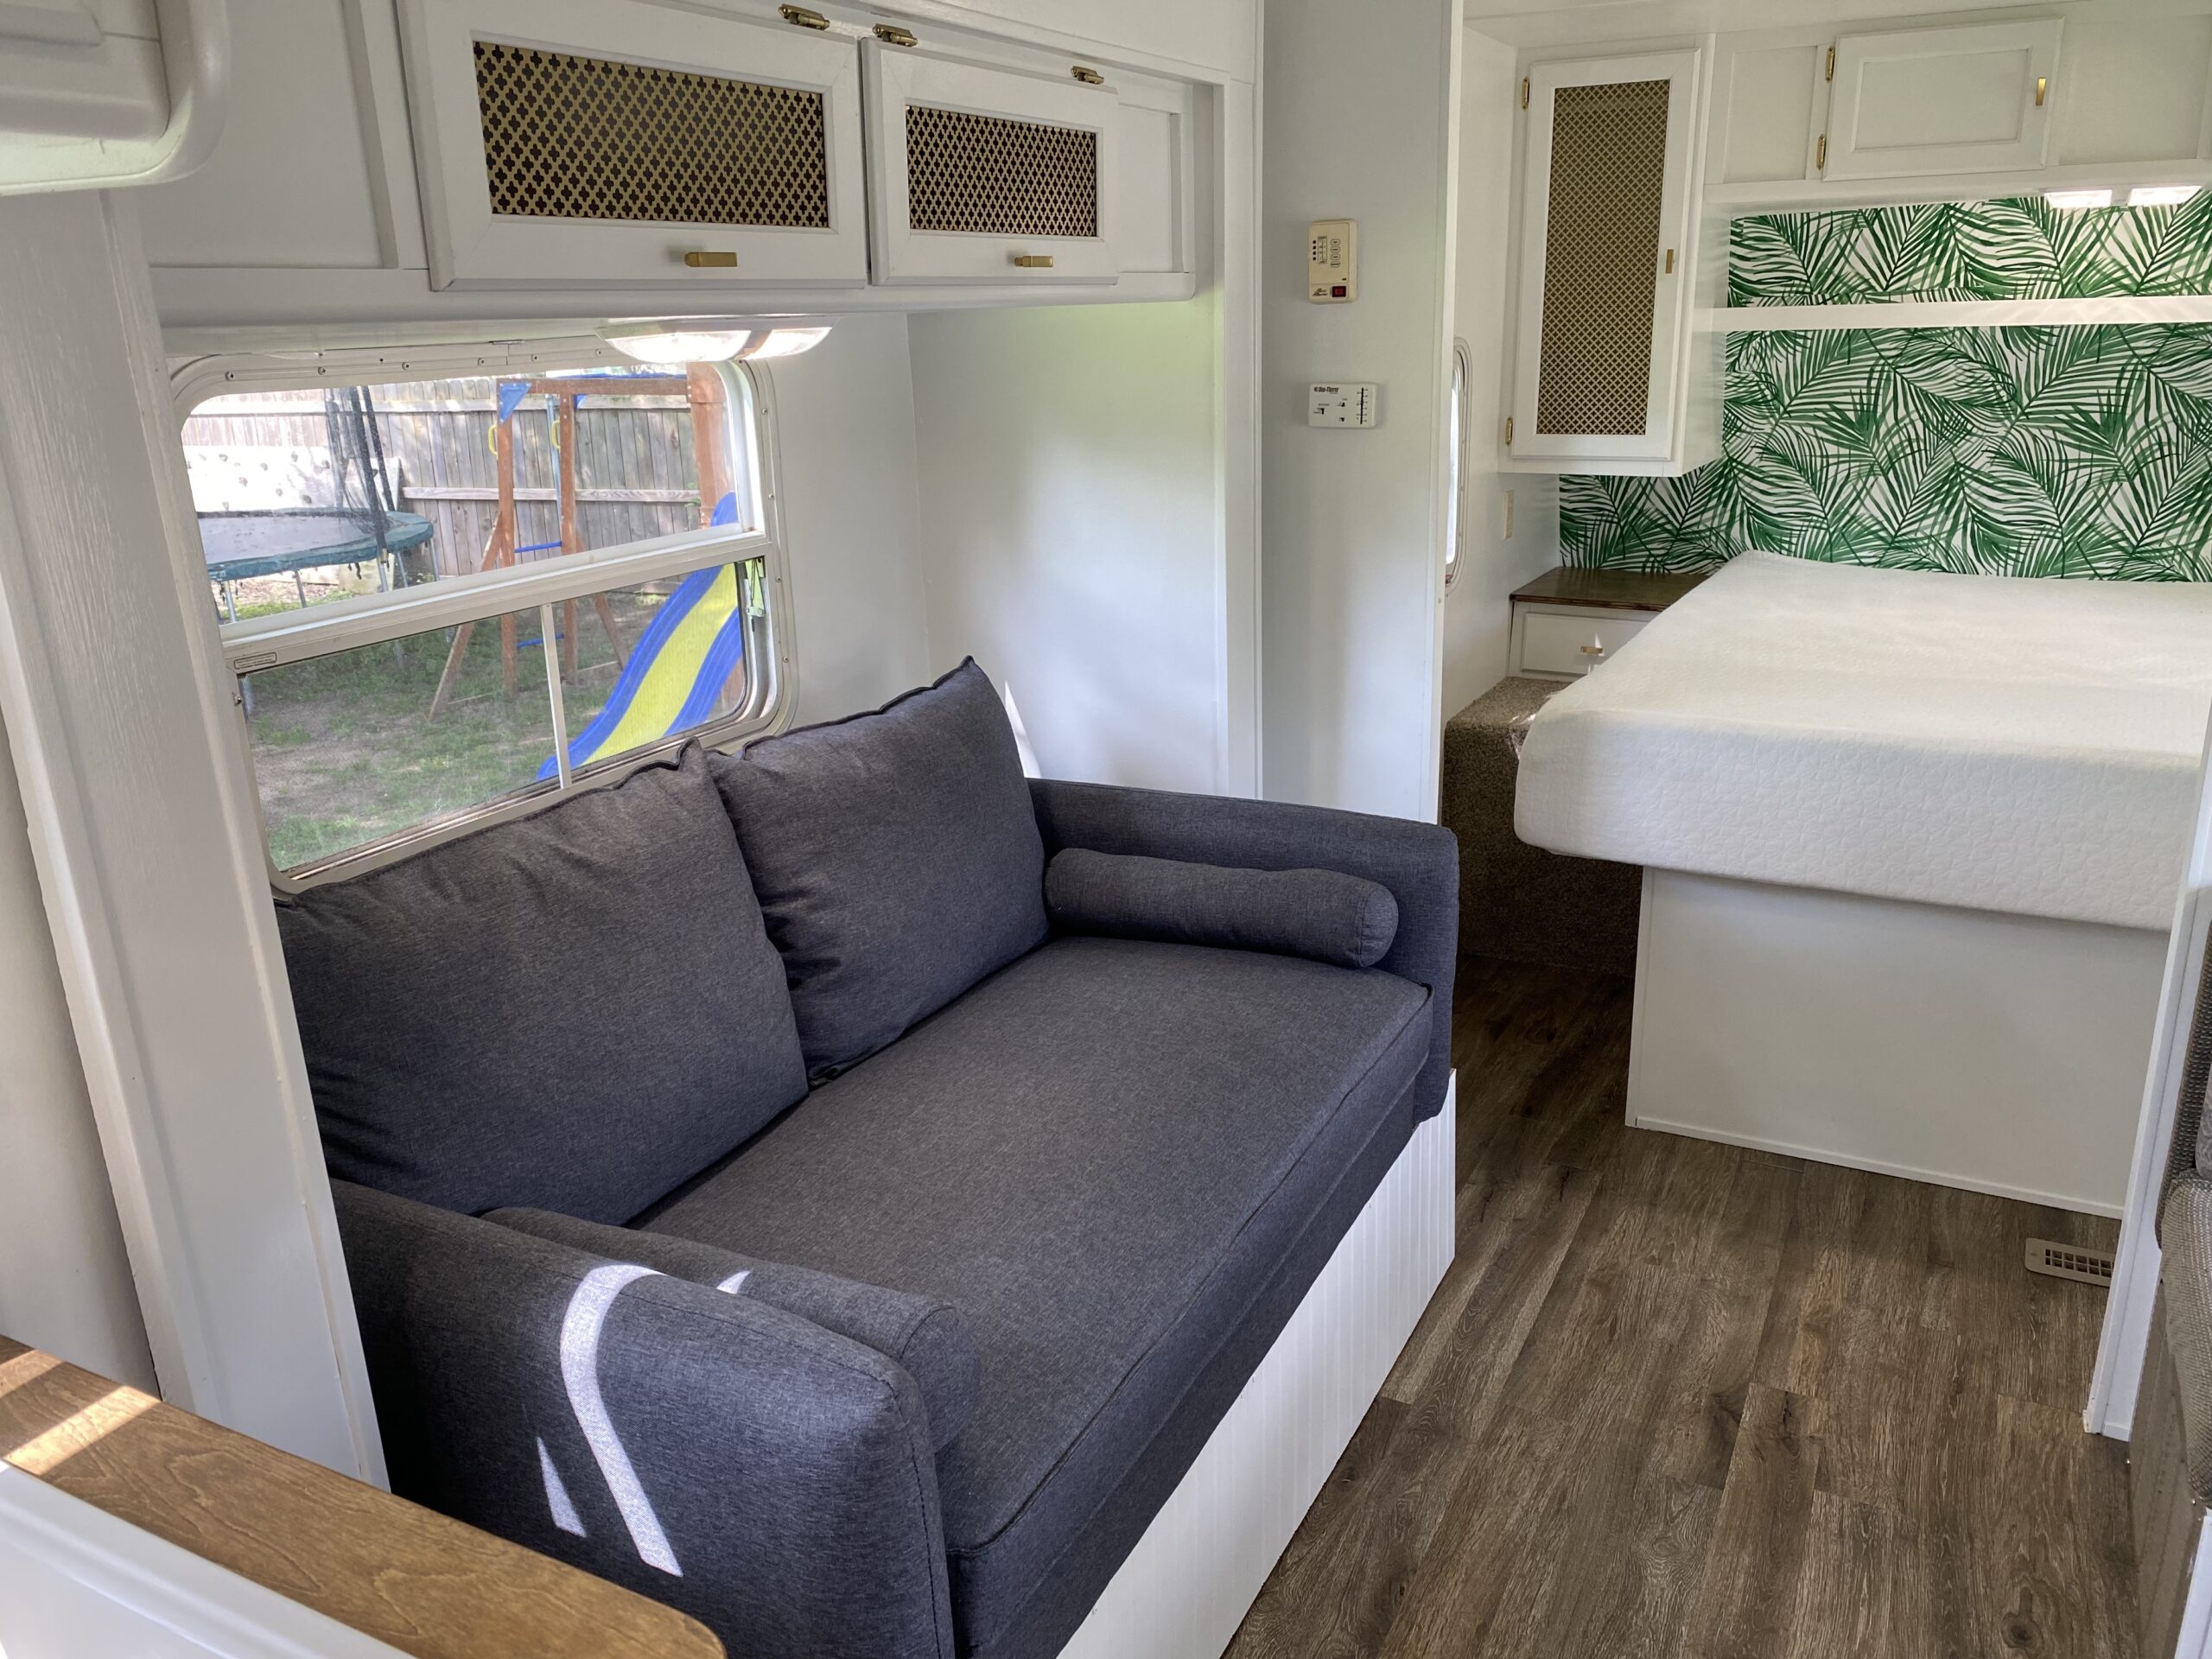
A quick way to update things is to change lighting fixtures, ad some wallpaper, or even simply adding one accent wall. Even a beautiful backsplash behind the stove and sink area can totally change the look of your interior.
Lightening your walls is as simple as some paint or changing a wall to brighten the natural light in the room. This can be done easily, as we’ll show below.
Peel and Stick Wallpaper
There are two peel and stick wallpaper options that I prefer.
Vintage Style

The first is a White Grey Wood Panel and offers more of a vintage look if that is something you are interested in.
This multi-use contact paper is easy to install and gives you a quick shiplap look. It can be wiped clean, so it’s easy to maintain a great looking appearance. When you want to take it down to change your look, it’s as simple as peeling it back off or putting another wall treatment right over it.
Traditional Style

My next recommendation is NuWallpaper NU3129, which has more of a traditional reclaimed shiplap look.
It comes in one large, long roll that looks like three boards of approximately 6 inches in width, each. Roll it out and measure carefully so that you match the board seams carefully. It holds up well in bathrooms and kitchens, or use it as an accent wall.
Whichever option you choose, make sure that you grab some 3M adhesive spray. It’s recommended to use, in addition to the adhesive that is already applied on the backs of these papers.
Installation Tip
Remember to add 3M adhesive, in addition to the provided adhesive on the back of your wallpaper. This ensures that they stick well and hold up under the rigors of RV life.
Make Your Own Shiplap
Birch Underlayment
This option calls for you to use a thin sheet of birch underlayment, similar to working with plywood. It can be easily cut to size, spaced as boards, and then painted in any color you choose.
Don’t forget to use some construction adhesive as well. If you don’t have a favorite, I like to use Liquid Nails and have nothing but good results. This will help secure your boards to the wall and prevent them from moving and squeaking.
Luan Paneling
This is extremely thin, making it easy for almost anyone to work with it. Luan paneling is also cheaper than birch, but can still be painted for a personal look.
Cut it to size and attach it to the wall using the methods we described above with the birch underlayment. Again, using construction adhesive is always recommended. This ensures everything stays put and remains noiseless as you travel.
You can stain it, seal it, paint it, and create a very unique look with very little effort. Don’t forget to use spacers if you are going to get that true shiplap look.
Masonite sheets
Many people opt for Masonite sheets because they are very cheap. They are a good option for the budget-minded. If you make a mistake, it isn’t going to be a costly one.
You can rip these sheets to the width you prefer, attach them to the wall with a stapler or brad nailer, and use adhesive, just like the other options above.
The downside of using this option is that you’ll definitely need to use a primer or paint that has primer in it, so you can cover up its dark color.
Other than that one caveat, it’s easy to work with and very inexpensive. Once it is cut it into strips and made to look like shiplap, it will be difficult to tell was it was a DIY project. Especially after you’ve painted it and spaced it with your pennies or tile spacers.
Shiplap panels
Shiplap panels are great visually and pretty easy to install. The downside in using them is there may be some variation in the color from panel to panel. This is not an issue if you paint over them, but that is extra work. They’re also heavier than some of the other options above.
Overall, they take paint well and are easy to install using the same methods as your other options: brad nailer, staples, and adhesive to keep them secure. You may want to use extra heavy staples on these, however, because they are heavier..
Cheap alternative
Wainscotting is an often-overlooked alternative that is inexpensive and looks great. If you are doing a small area, it’s possibly an easier alternative method that will require less cutting for you as well.
This option isn’t cheaper than masonite, but it might be simpler for you if you are doing a smaller space. Prime and paint in any color you choose or leave them white. They look great right off the shelf.
Super Cheap alternative
It’s possible, though takes some patience, to simply paint your walls and use a dark marker, such as a Sharpie, to create the faux gap that would be present with shiplap.
You’ll need a good, long straight edge that you can use. You will need to be careful of spots where your marker might overlap itself and create a bolder line compared to other places. This technique takes time and patience but is undoubtedly the cheapest way to go.
Big Box Store Bonus
Pro tip…most big box stores will cut lumber to size for you. This is an added bonus that can save time and energy. If it’s not free, it’s still pretty cheap and normally not over .25 per cut.
This means you can plan your project out ahead of time and have your pieces pre-cut so you can go home and start the installation. Talk about time savings, while still keeping a low budget.
Making Your Project A Success
You’ll find some of these options look more realistic than others. You’ll love some and you might hate some. Before you invest in materials, try using samples and do a tiny area so you can see how it will look on your wall. Remember, it won’t look the same on your wall as it does in a book or at the store.
With all projects, no matter what they are, take your time. Measure twice and cut once and be prepared for the project to take longer than you expect. These tips will keep you on track and less annoyed when things don’t go as smoothly as you planned.
Be sure to send us some pics of your project as things start progressing.

