When you head out on the road with your RV, regardless of the type, you are probably thinking about rest stops and your eventual camping spot.
Fire safety probably doesn’t cross your mind. However, fire risk is a real concern with RVs, so you need to be prepared.
RVs catch fire because of dragging brakes, loose electrical connections, shorting 12-volt connections, leaking engine fluids, the exhaust pipe setting the grass on fire, tires overheating, appliances catching fire, leaking gas, or outlets overloading. You should always have a fire plan in place.
In this article, we cover the most common reasons that RVs (motorhomes, travel trailers, etc.) catch fire and what you can do to prevent it.
We also discuss general fire safety tips for your RV, and how to make a fire plan if it catches alight.
Dragging Brakes
Brake drag is a common problem that can set a tire or brake fluid on fire from the friction.
Brake drag is when the brake pads of the RV start sticking and no longer lift entirely.
Because of the sticking, it causes extra heat in the brake area.
There are various reasons why brake drag can happen:
Overheating of the Brake Fluid
Sometimes brake fluid becomes hotter than its boiling point.
This can happen if water gets into your brake fluid and then starts to boil into steam.
It’s important to always use the correct grade of brake fluid for your particular RV.
You can usually find the following grades of brake fluid:
- DOT-3
- DOT-4
- DOT-5
Check in the manual of your RV or with a mechanic to see which kind is needed for your RV.
We recommend the following brake fluids for each kind:
- Prestone AS400 DOT 3 Synthetic Brake Fluid
- Lucas Oil 10827 DOT 4 Brake Fluid
- Maxima Racing USA 80-81916 DOT 5 Silicone Brake Fluid
Changing the brake fluid in your RV depends on the kind of brake system that it has.
If your RV does not have an ABS brake system, then you can change the brake fluid through the process of “brake bleeding.”
Here are the steps on how to bleed brakes:
- If needed, elevate or jack up your RV so that you can easily fit under the vehicle.
- Remove the wheels.
- Use a wrench to loosen the caliper bleeder screws and then gently close all of them.
- Open the front of your RV to check the brake master fluid reservoir. Add new fluid to fill the line.
- Consult the RV’s manual to find out which order you need to drain each brake.
- Attach a transparent tube to the first brake and place the other end in a bottle.
- Get another person to push on the brake pedal several times while the RV is still switched off. Once they feel pressure, they must keep their foot on the pressure point.
- Open the bleeder screw of the brake and allow the fluid to pass through.
- Close the bleeder screw before the person pressing on the brake touches it to the floor.
- Add extra brake fluid to the fluid reservoir to maintain the full amount.
- Complete steps 6-10 five more times at the same brake location.
- Complete steps 6-11 for each brake location in the correct order.
- Continue until all old brake fluid has been bled, and it is new brake fluid in the fluid reservoir.
- Firmly retighten all of the caliper bleeder screws.
The following video shows what brake bleeding looks like:
If you have never changed your brake fluid before, it might be a good idea to take your RV to a mechanic, especially if you have an RV with an ABS brake system, which needs a more complicated method.
A Collapsed Flexible Hose
A collapsed flexible hose can also cause RV brakes to drag, especially in older models.
They can collapse internally, which does not allow the brake fluid to be released.
This problem can be identified by a mechanic who can replace the flex hose.
It is also possible to change the flexible hose yourself.
Hose connections depend on the particular make and model of your RV, so there could be some variation on these instructions.
Use a flashlight to check the flexible hose for any visible damage.
Get a friend to push on the brakes at the same time to see if the hose inflates.
If it does not, then it needs to be replaced.
Here are the steps on how to change the flexible hose:
- Use a plastic bag to fit around the fluid reservoir to avoid spills of the brake fluid.
- For hoses that connect with a banjo connection, use a spanner to unscrew the hollow bolt.
- For hoses that connect directly to the brake caliper, unscrew it with a spanner.
- For hoses that connect with a linking union, use two spanners to detach at each end of the union.
- Attach a spanner to the hose’s female union and another spanner to the other section to stabilize.
- Take apart the pipe union and remove the damaged flexible hose by sliding it out of its bracket.
- Repeat the process in reverse to attach the new hose.
This detailed video walks you through the entire process:
Overfilling of the Master Cylinder
Two possible problems can happen with the master cylinder inside of the RV brakes.
The first is that the master cylinder piston starts sticking and will no longer release. If this is the case, then it must be replaced.
Here are the steps on how to replace the master cylinder:
- Move your RV to a flat position, remove the keys, and turn on the handbrake.
- Open the engine hood and disconnect any electrical connections to the master cylinder.
- Unscrew the cap on the brake fluid reservoir and extract all fluid with a pipette or turkey baster.
- Use a cloth underneath the line fittings in case any brake fluid drips out.
- Use a wrench to unscrew the brake lines but do not fully remove them.
- Disconnect any switches.
- Unscrew the mounting nuts that fix the master cylinder in position.
- Remove the brake lines and wrap them in a clean plastic to avoid getting them dirty or aerated.
- Take out the master cylinder and remove the rear seal.
- Remove the brake fluid reservoir from the master cylinder.
- Put the master cylinder in the middle of a vice on your workbench.
- Fix transparent plastic hosing to the outlets on both sides of the master cylinder and put the ends inside the brake fluid reservoir.
- Use new brake fluid to fill the reservoir.
- Push the master cylinder’s piston with a screwdriver to release any trapped air. Repeat this process until there are no air bubbles.
- Continue to fill the reservoir with fluid as the level decreases.
- Remove the hoses from the reservoir and cap the ends or fully detach them.
- Grab the new master cylinder and put it in the mounting position.
- Attach the brake lines.
- Follow steps 2-7 in reverse.
- Bleed the new master cylinder using the process previously outlined (How to Bleed Brakes).
- Turn on your vehicle and test the brake pedal.
- Inspect the brake line ports for leaks.
- Take your vehicle for a test drive in a controlled area to test the functionality of the brakes.
The master cylinder can also overfill. When this happens, there is not enough space for brake fluid to come back.
You can avoid this issue by draining some brake fluid and leaving at least ½” (1.27cm) of free space in the cylinder.
Sticking of the Metering Valve
The metering valve controls the pressure of the rear drums in the brake system.
It is also called a proportioning valve. It makes rear brakes activate before the front brakes.
If it starts to stick, then it can cause the brakes of your RV to drag. You can tell if the metering valve is the problem by taking your vehicle for a test drive and slamming on the brakes.
the rear wheels lock, then the metering valve is malfunctioning. If this is the case, then you need to replace the metering valve.
Here are the steps on how to replace the metering valve:
- Move your RV to a flat surface and leave it in 1st gear (manual) or park (automatic).
- Lift the back of the RV if needed with wheel chocks around the front tires.
- Jack the RV up and put it on jack stands. Make sure they can support the weight of your vehicle.
- Use safety glasses to protect your eyes against any chemicals.
- Pop open the hood and take off the master cylinder’s cap.
- Extract brake fluid with a handheld pump. We recommend the Koehler Enterprises Siphon Fuel Transfer Pump Kit.
- Put a drip pan underneath the metering valve.
- Put on safety gloves to protect your skin from chemicals.
- Unscrew the proportioning valve’s mounting bolts and let it drop.
- Use a wrench to bolt the new proportioning valve into the mounting place.
- Attach the intake and exhaust port lines and tighten with the wrench.
- Use brake fluid to fill the reservoir of the master cylinder.
- Bleed the brakes 5-6 times using the instructions previously mentioned (How to Bleed Brakes).
- Step on the brake pedals a few times to release any air.
- Refill the brake fluid reservoir.
- Check the brakes for any leaks.
- Lower the RV and remove the wheel chocks.
Loose Electrical Connections
Your RV’s movement down the road can move electrical connections around, especially if your vehicle is large and heavy.
This movement is potentially dangerous because the movement of the loosening connections produces heat. This can even lead to a fire.
It is important to regularly tighten all of the electrical connections to avoid this fire risk.
Here are the steps on how to tighten the electrical connections:
- Switch off any power source in the RV and take off any metal jewelry.
- Tighten connections between wires and circuit breakers in the electrical distribution box by tightening screws and wire nuts.
- Use electrical tape to wrap any wing nuts around their corresponding wires so they can’t move.
- If any electrical plugs are loose, switch the receptacle for a new unit that fits more snugly.
- Replace any burnt out or discolored electrical terminals.
Shorting of 12-Volt Connections

Shorting of 12-volt connections is a common problem in RV’s and one that can start electrical fires if left unfixed.
The 12-volt connections power many of the items inside of your RV, like the lights and heating/cooling system.
The first step in maintaining safe 12-volt connections is to test their functionality regularly.
You will need a multimeter like the AstroAI Digital Multimeter.
Here are the steps on how to test 12-volt converter:
- Switch off the main breaker for the RV’s converter.
- Attach the multimeter’s test leads to the 12V battery lugs directly on the 12V battery and the Direct Current (DC) distribution panel in your RV. The multimeter should read around 12 volts.
- Flip the breaker switch to turn the RV converter back on. The multimeter should read around 14 volts, which shows the battery is charging.
This simple video shows you how to test the 12-volt converter:
If the readings are normal, then you can safely go out in your RV.
However, if the readings are irregular or you suspect the 12-volt connections are shorting, it is time to go hunting for the source.
Here are the steps on how to find 12-volt shorts:
- Switch off all 12-volt connections and remove fuses from the DC fuse block.
- Switch out the main fuse for a brand new 40-amp fuse. If the fuse blows again, then the short is located in the circuit between the battery and the fuse box.
- If not, grab your digital multimeter, set its Ohm reading, and hook it up to read the continuity value.
- You can also use a diode setting on compatible multimeters, which beeps if there is continuity.
- Use a resetting 12-volt circuit breaker to test every device connected to the circuit (e.g., lamps).
- Switch on each device consecutively until you find the one that makes the circuit breaker trip out. This is the source of the shorting connection.
Here are the steps on how to fix shorted connections:
- Turn off the power source at the breaker box.
- Cut the shorted wires and tape their ends with electrical tape.
- Use a new conductor to form the connection and test it with the multimeter.
However, if you can’t find the exact source or you are not confident in replacing the wires, then take your RV to a licensed electrician and explain your problem.
Leaking Engine Fluids
Leaking engine fluids are a big fire hazard because they can catch fire and set your RV alight from the inside out.
Before leaving on your camping trip, perform the following steps:
- Check that hoses are firm and intact.
- Tighten any clamps.
- Check for leaks.
If you notice any leaking, you should take note of the color.
The following fluid colors indicate different kinds of engine fluids:
- Amber: gasoline.
- Light yellow: new brake fluid.
- Transparent: water or power steering fluid.
- Red: power steering fluid, coolant, or automatic transmission fluid.
- Light brown: oil or lubricant.
- Blue: window washer fluid.
- Green: radiator coolant.
If you notice any leaks, take your RV to a mechanic so they can properly diagnose the problem and stop the leak.
The Exhaust Setting the Grass on Fire
Especially in hot and dry climates, you can accidentally set the grass on fire from the heat that comes from your RV’s exhaust.
Avoid this issue by:
- Parking on dirt or asphalt.
- Avoiding areas of long, dry grass.
You should be extra careful during summer and especially fire season when grasses are at greater risk of catching fire.
Tires Overheating
If you are driving a lot or in very hot weather conditions, then you run the risk of a tire blowout.
This is when one or more of your tires explodes and loses pressure. This usually happens because of tires overheating.
This can be extremely dangerous because it can cause you to crash your vehicle and even cause it to catch fire.
There are various preventative methods that you can use to avoid tire blowout:
Drive Safely
Speeding, rapid braking, and driving for long periods without resting are easy ways to wear out your tires.
To reduce the risk of a tire blowout, you should always maintain the legal speed limit, brake gently, and take regular breaks.
Don’t Overload the RV
If you carry too much weight in your RV, this can damage your vehicle’s suspension, create unsafe conditions, and wear down the tires a lot faster.
You might not notice that you have overloaded your RV, but sporting extra equipment like kayaks or bikes can quickly add weight.
Check the manual of your rig for recommended weight limits. Also, make sure to distribute weight across your vehicle evenly.
Maintain Correct Tire Pressure

If your tires are over or underfilled, then they will wear out a lot faster.
Overfilled tires run the risk of popping and blowing out, while underfilled tires will drag more on the road and are more easily damaged.
Check your RV’s manual for recommended tire pressure or take it to a mechanic.
You can regularly check your RV’s tire pressure at a gas station or by using a tool like the AstroAI Digital Tire Pressure Gauge.
Keep Tires in Good Condition
If your tires are very old or worn down, then you should replace them to avoid tire blowout and keep your vehicle in good working condition.
Make sure that you choose the correct size for your vehicle and invest in more expensive tires that will give you a longer life.
Here are the steps on how to replace an RV tire:
- Jack up your RV using a jack or leveler.
- Use a wrench to take off the lug nuts.
- Remove the old tire and slot the new tire into place.
- Put the lug nuts on the new tire and use the wrench to tighten.
This quick video shows you how it is done:
Kitchen Appliances Catching Fire
Sometimes your RV can catch fire because of kitchen appliances, especially if they are not the correct voltage for your vehicle.
You can avoid this problem by:
- Unplugging all appliances when not in use
- Never leaving the kitchen while an appliance is still plugged in and in use
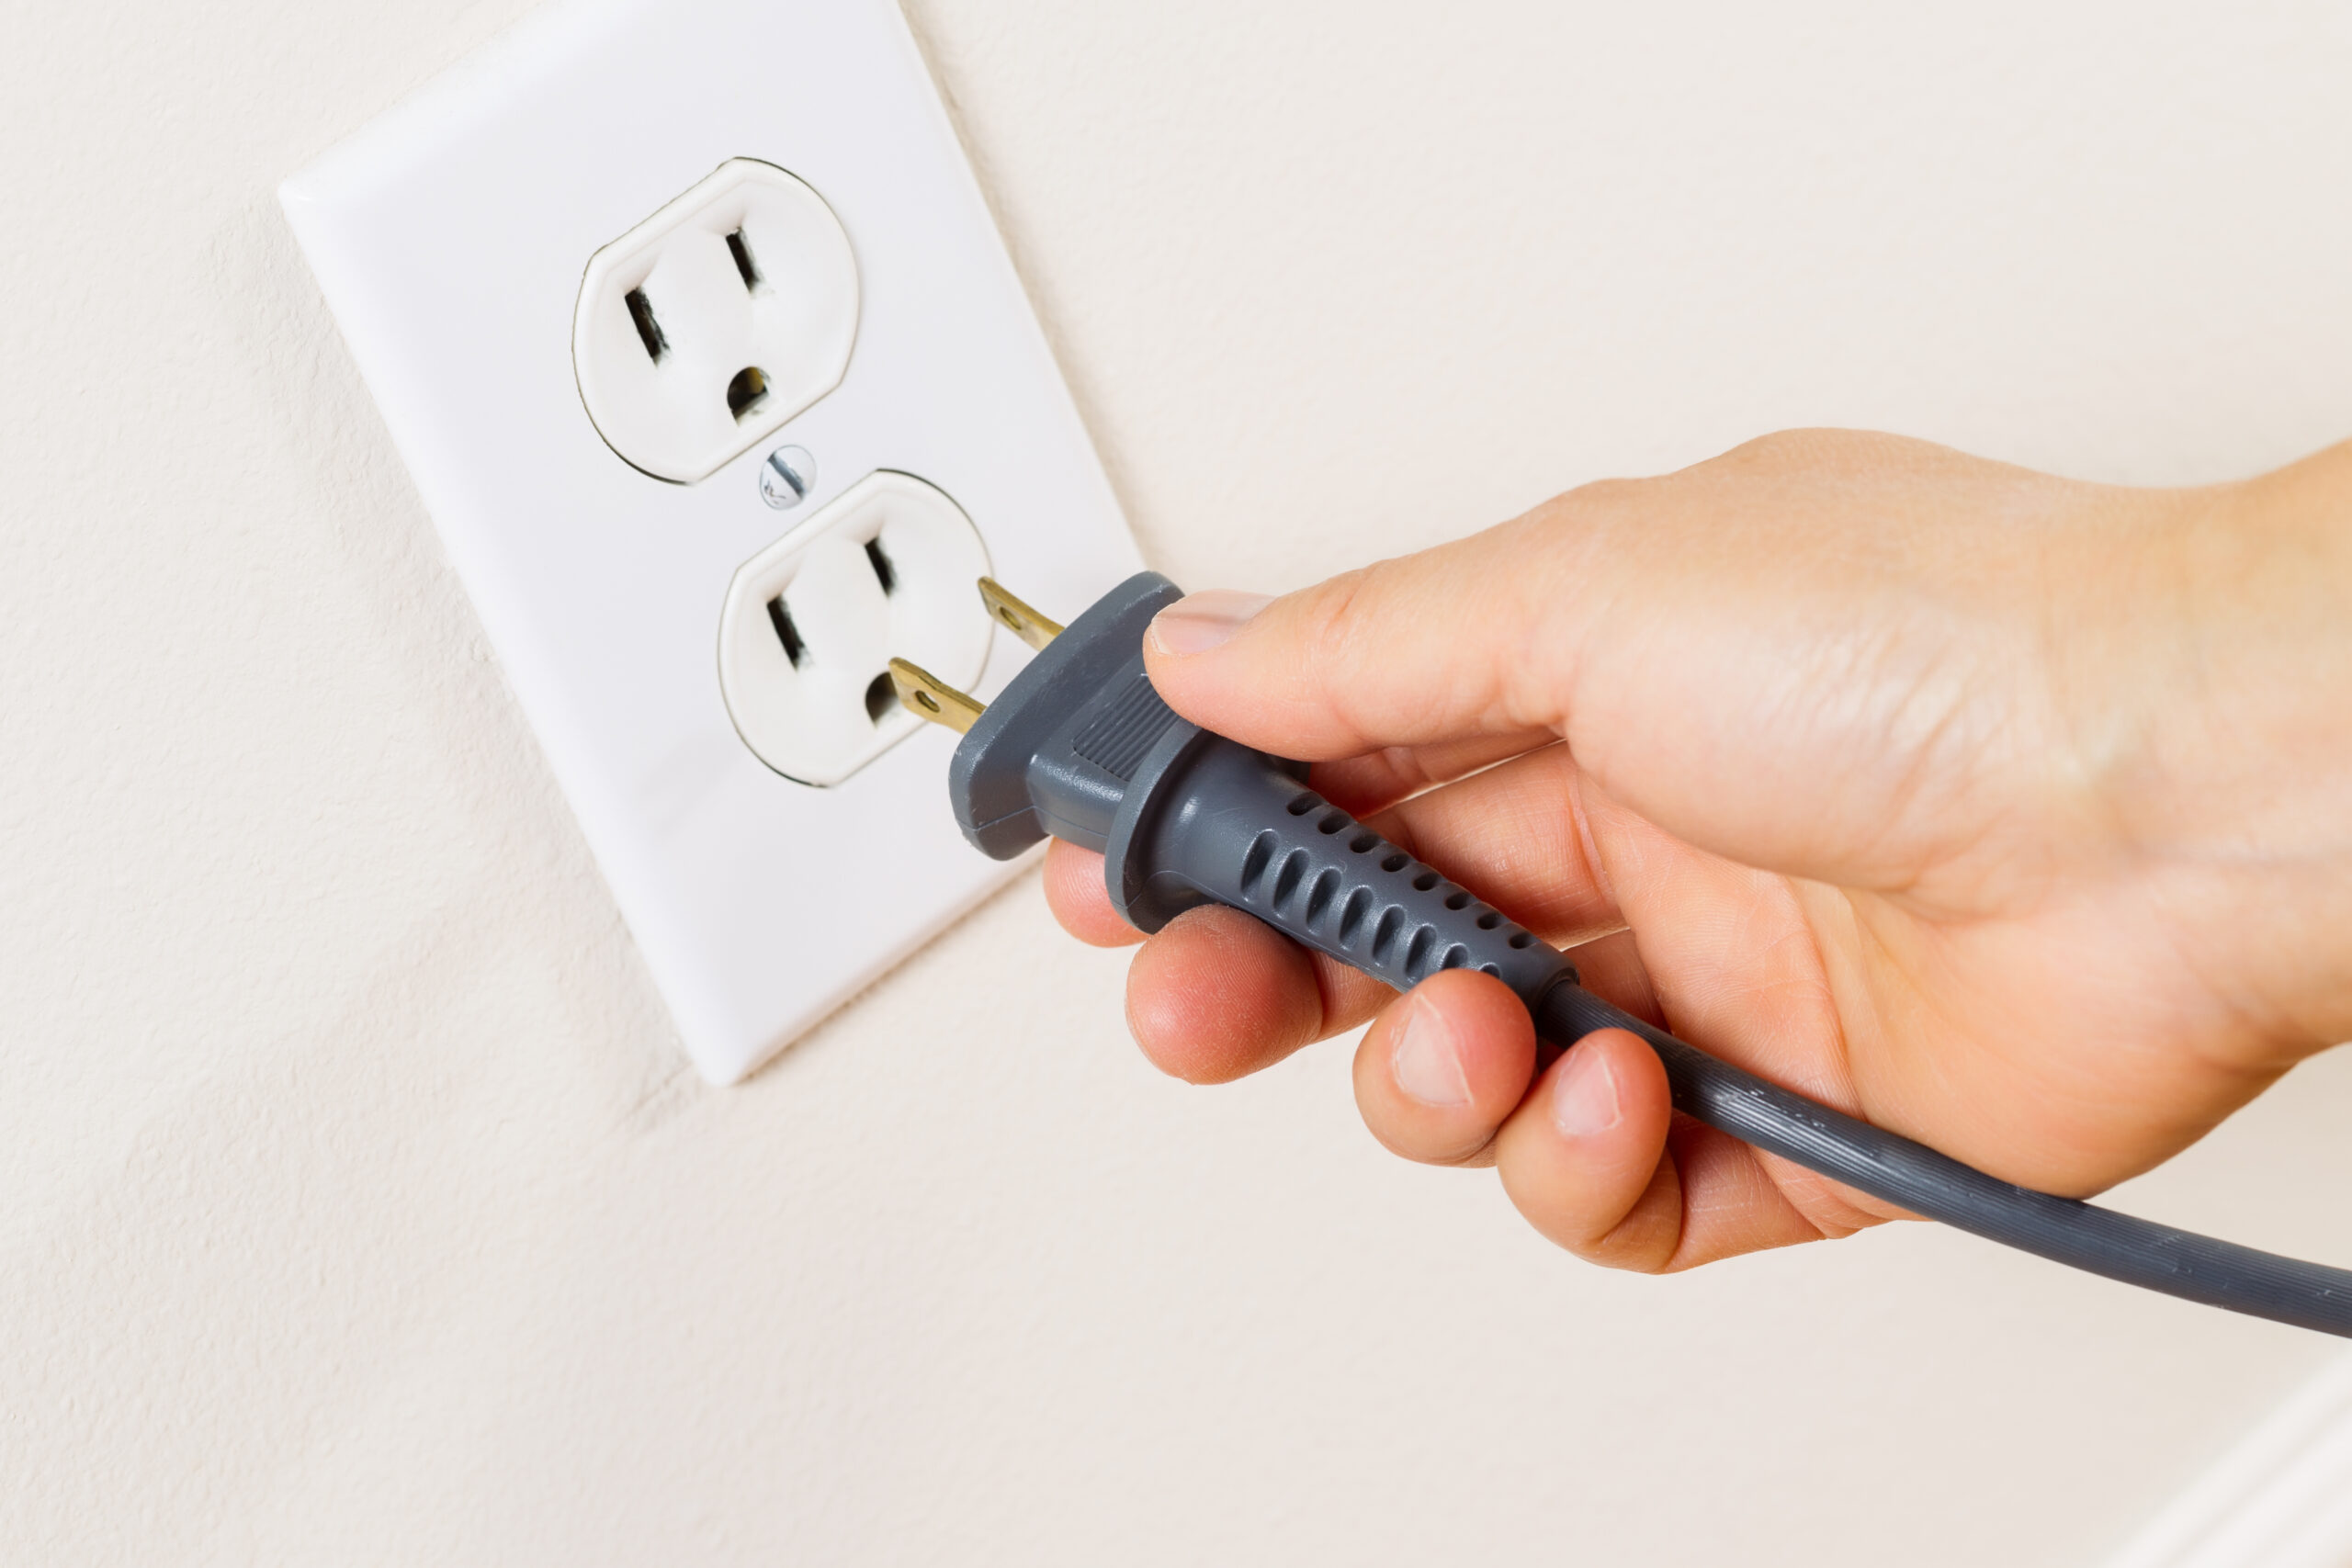
- Using only one electrical appliance per outlet
Gas Leak
Larger appliances in your RV, like the fridge, run off of propane gas. This gas is extremely flammable and can burst into flame just from contact with air. It is extremely explosive, so any gas leaks can be deadly.
Here are some tips that you should follow to avoid gas leaks:
- Travel with a portable propane gas detector and run regular checks.
- Turn off all gas appliances when not in use.
- Turn off all propane appliances and the gas source while driving.
If you smell or detect propane gas, leave the vehicle immediately, and call for mechanical assistance.
Overloaded Electrical Outlets
Because of the limited electricity options, some campers may make the mistake of overloading electrical outlets.
You might be tempted to use powerboards or other devices to maximize your electricity, but this is dangerous.
This can overload the outlets and cause them to short and even ignite.
If you need to use a powerboard, make sure it is heavy-duty grade and never allow it to be under the carpet or a mat.
Make sure that all plugged in devices do not exceed the powerboard’s safe load capacity.
General RV Fire Safety Tips
There are some general tips that you should follow to keep your RV safe from fire:
- Always have working smoke alarms in your RV kitchen.
- Keep fire extinguishers in your RV kitchen, bedroom, and outside of the vehicle.
- Keep a safety checklist and fire evacuation plan.
- Install a carbon monoxide detector.
- Keep all electrical cords in good working condition and replace as needed.
- Schedule regular maintenance appointments for your RV.
- Do not leave the kitchen while food is cooking.
- Keep any flammable items away from the kitchen stove.
- Make any campfires far from the vehicle.
- Do not leave lanterns or heaters on while asleep.
Fire safety should always be in the back of your mind whenever you are inside the vehicle or close to a source of fire.
There’s no reason not to enjoy your camping trip, but being negligent is not worth the consequences.
What to Do if Your RV Catches Fire
If your RV catches fire, you should follow these steps to keep everyone safe:
- Evacuate everyone immediately from the rig.
- Call the fire department for assistance.
- Extinguish small fires with a fire extinguisher. However, do not attempt this if the fire is large or in a position from where you can’t easily move.
- Do not go back into the RV to retrieve any items while it is on fire.
The most important thing is the safety of yourself and your family.
If there is any possibility that you could get trapped inside the RV or harmed, choose your life over trying to put out the fire.
Conclusion
In conclusion, RVs can catch fire because of the following reasons:
- Brake dragging
- Loose electrical connections
- 12-volt connections shorting
- Leaking engine fluids
- The exhaust setting the grass on fire
- Overheating tires
- Kitchen appliances catching on fire
- Leaking gas
- Overloaded electrical outlets
It is essential to take your RV for regular maintenance appointments with your local mechanic and keep an eye on any arising problems.
You should also be vigilant with fire safety inside of the RV and leave hazards unattended.
If your RV does catch fire, you should already have a fire plan in place. Evacuate the vehicle and call for help.
You can try to put out small fires with a fire extinguisher, but never put yourself in danger.
By following this complete fire safety guide, you can make sure that your next camping trip is both safe and fun.


