If you are brand new to towing an RV, you should get a little practice in before heading out on your first trip. Sure, you can take off and learn on the fly. A lot of people do it that way and there’s nothing wrong with it.
However, for some folks it is very intimidating. One of the biggest hurdles or mental blocks people have is backing up a trailer. Particularly, backing into a campsite.
Some campground and RV parks offer pull through sites, but not everywhere. As much of a luxury as they are, there will come a point in time where you will have to do some backing. So, why not practice a little ahead of time.
How to Back Up a Camper Trailer

To make things easier, find an empty parking lot if you live in an urban area, or larger open space if you live in more of a rural area. This will give you a place to practice without all the added pressures.
Using Your Mirrors
Make sure you have your mirrors adjusted properly. You need to be able to see to the very back of the travel to make things work.
If you don’t have “towing” mirrors that extend or expand, you can buy aftermarket add-ons that serve the same purpose. Either way, you have to be able to see what you’re doing and it is possible without those mirror types. It’s just a little more difficult.
Turning the Steering Wheel
In a nutshell, you will need to turn your steering wheel the opposite way than you want your camper to go. This is if you keep your hands on top of the steering wheel.
You can think of it this way, always steer or turn towards the problem. If you trailer is creeping too far left, turn to the left. That movement will correct it back towards the right.
Hopefully that is clear as mud. Some folks find this confusing, but it gets easier with practice.
Another option, which can be way easier, is to place your hand on the bottom of the steering wheel. When you do this you can actually just turn the steering wheel the direction you need the camper to go. This makes it a lot easier for some people.
Give both methods a try and see which works better for you.
Get a Visual
I like to get out and walk the campsite prior to parking. This allows me to check spacing, how level the ground is, overhands, hookups, etc.
When I get a mental image of these things I’m able to get a good guesstimate as to how things will fit.
Teamwork
If you have a traveling companion, be sure to work together when learning the process. Backing up can be a much easier process with a spotter, but can also be a “tense” situation to say the least. Just ask my wife.
If you don’t have a spotter, don’t worry, a lot of people perform this activity solo on a daily basis.
A spotter can keep an eye out for hazards, tell you when to stop, and keep an eye on those hard to see spaces.
Make sure your spotter never stands directly behind the trailer. If the driver accidentally hits the gas instead of the brakes your spotter needs to be free and clear. Always have them offset to one side or the other.
Swing Towards Site Opening
As you are approaching the entrance to you campsite, steer your tow vehicle towards the entrance to the point where your tow vehicle and trailer start moving in that direction.
As your tow vehicle gets to the point of the site entrance, steer back away from the site as the tow vehicle and trailer pass the opening.
This will cause your trailer to create a good angle when you start to back up. It can help prevent a lot of the harsh angles created by keeping everything straight.
Making the Turn
Remember, your wheels are the pivot point for the entire trailer. So, for reference, your trailer wheels need to be at the point of the turn itself before your vehicle engages in turning. This will prevent jumping curbs, etc.
Try Again
When all else fails, give up on your current attempt and try again. There is no shame and nothing wrong with a redo.
Make another lap and give it another go. It will give you a chance to clear your mind, relax the nerves, and take a few deep breaths.
Need a visual?
Slide Check
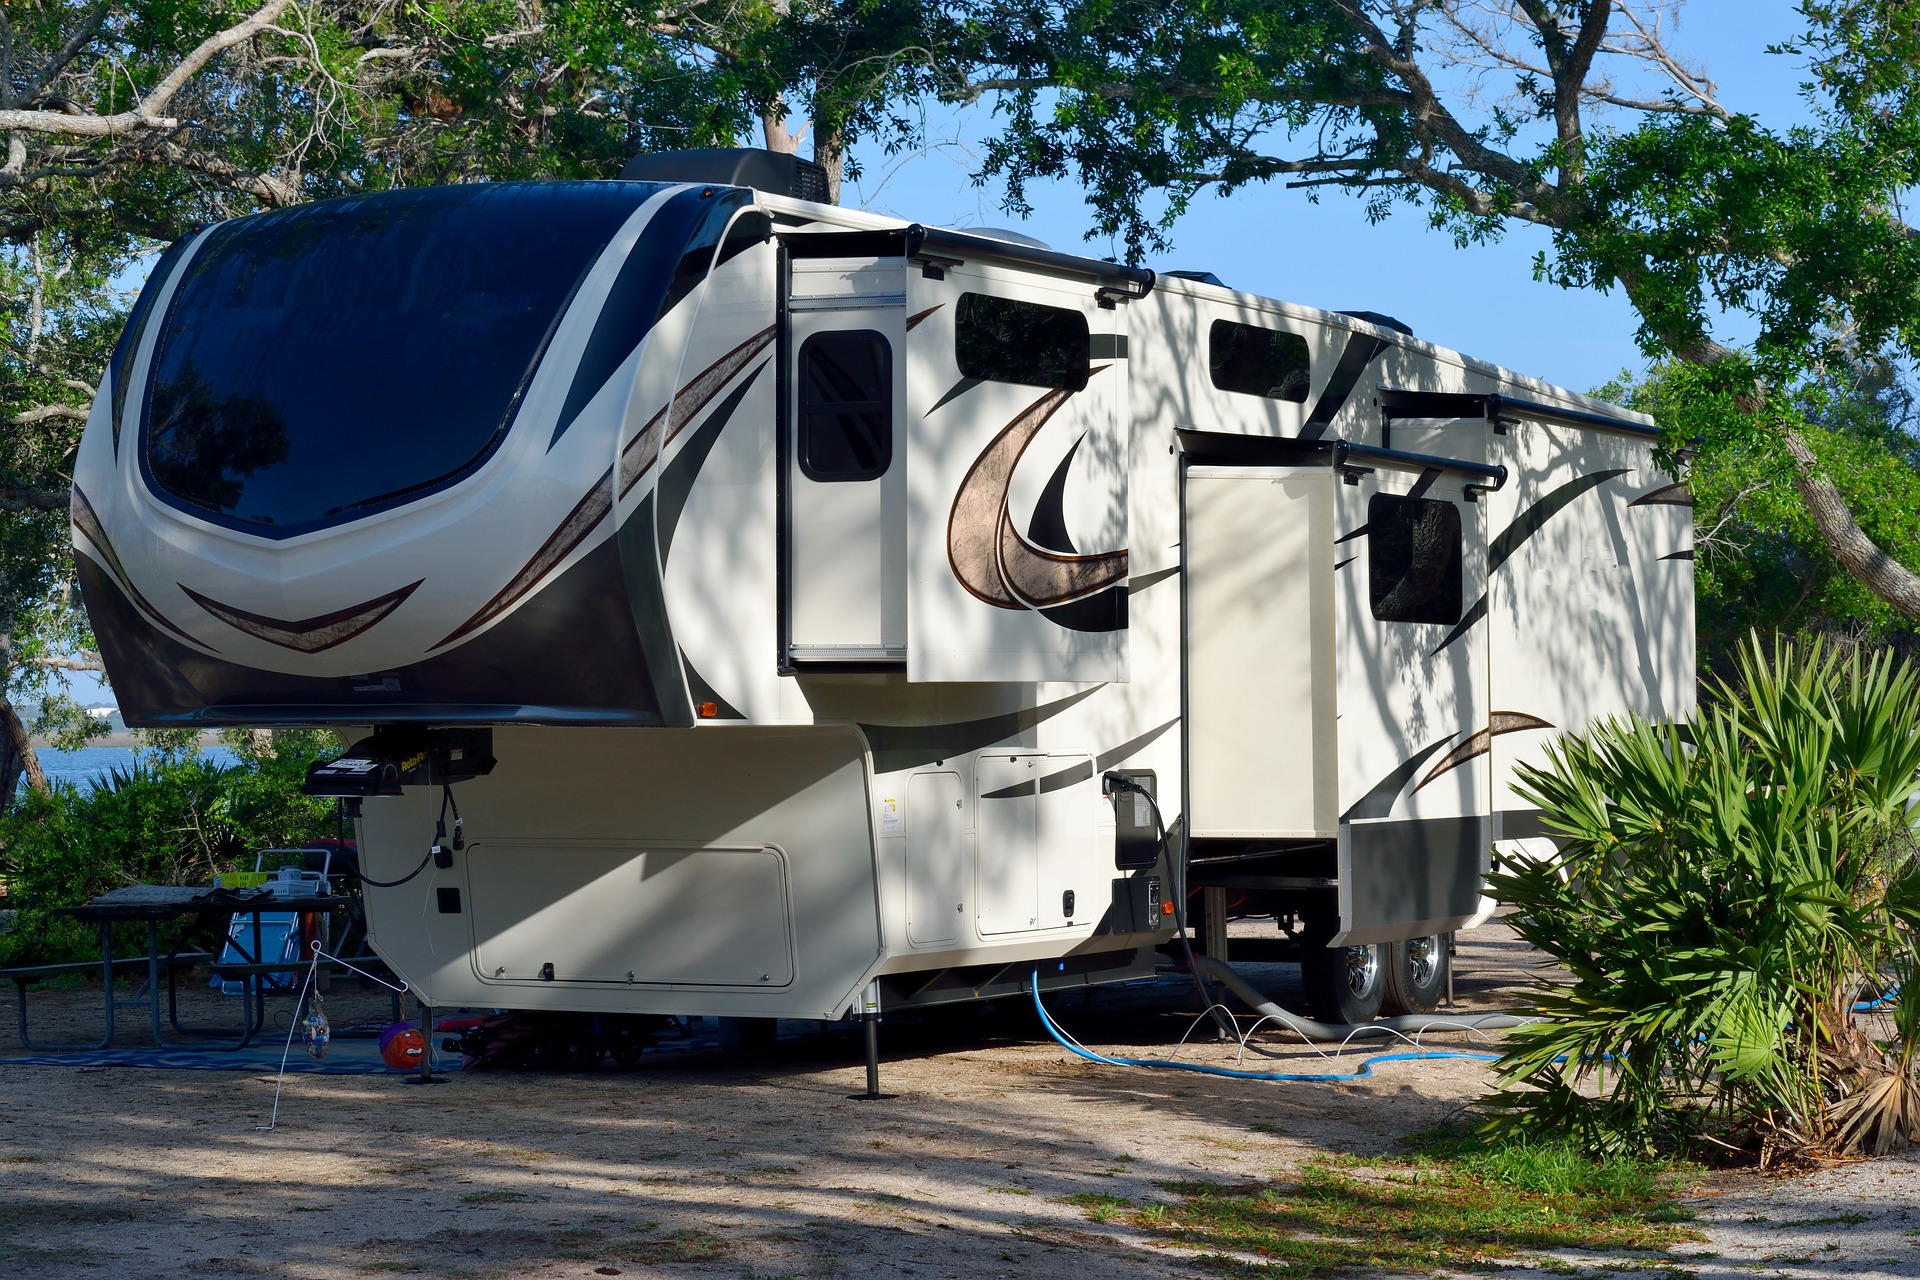
Once you get back into your site, hop out and do another inspection. There are several things you will need to check. While you are out, go ahead and verify your slide spacing.
In other words, may sure you have room to extend your slide. There is nothing worse than getting everything set up, unhooking, etc., only to find out there is not room for your slide to extend.
Check Connections
Now is also a good time to test the electric at the power pedestal. You can use an advanced surge protector to test the outlet in question. Do you have to use a surge protector? No. This is just my preferred method and you can do what suits you.
Make sure the breaker are turned off, plug in the surge protector, then flip the breaker back on.
Once everything checks out, you are good to go. You don’t want to get everything unhooked just to find out the pedestal is having issues. It doesn’t occur often, but when it does it can be a major inconvenience.
Go ahead verify your power cable is long enough to reach the power pedestal while you are here. You can step this off to get a rough idea if it will reach.
Checking Level
Go ahead and check how level the ground is while you are out. You want to do this before you unhook from the tow vehicle. If you need to make some adjustments, now is the time to do it.
Level the Rig
If you want to know how to level your RV in detail, check out our in-depth article on Leveling. It covers this topic from start to finish.
However, the basics are as follows:
- Chock wheels
- Unhook tow vehicle
- Level from front to rear
- Lower stabilizer jacks
Sound simple doesn’t it. Well, it is for the most part. However, like I mentioned about, check out this article for more detail.
Connect to Services
Electric
Let’s go ahead and get things hooked up. Since you have already checked power with your surge protector, go ahead and plug your power cable into the surge protector. Make sure the breaker is flipped on and you are good to go.
Water
Just to be safe, go ahead and attach your water pressure regulator and water filter if you use one. Either way, once they are attached, hook up your water line and turn on the water.
Gas
If you were traveling with your gas turned on you can skip this step. However, if not, turn on your gas at this time.
Sewer
Go ahead and hook up your sewer line (stinky slinky) and run it as needed. Be sure to use sewer hose supports in order to keep things flowing down hill.
As a reminder, you don’t want to leave your valves open all the time. You want your tanks to fill up enough to have enough pressure to flush things out.
Be sure to check out our article on How to Maintain RV Holding Tanks for more information.
Slides and Awning
Now it’s time to let out the slides and awning. You should have check to make sure you have space to extend everything, but if not, go ahead and do it.
If everything looks good, proceed with the process.
Conclusion
Maybe this process will help someone who is just starting out with and RV or someone who is thinking about getting into RVs. Either way, take what you can use and discard the rest.
The bottom line is there is no hard and fast process that you absolutely have to follow. Don’t stress out and feel anxious about what to do. You will continue to change and refine things as you gain more experience. As this occurs, you will create your own process that is unique to you and your rig.
Remember, if all else fails and you are at the campground and don’t know what to do, just ask a neighbor. You will find the RV community very friendly and most of the time very willing to help.

