You can paint over RV decals if you have an older, flat-sided vehicle, but in most cases, your best bet is to remove the old decals and then add a fresh coat of paint. Old decals can lift away and have an uneven look when painted over. However, the removal process is simple and easy.
Read on to learn why you should probably remove your old decals before painting your RV and how you can remove them safely before painting.
Do You Have to Remove Decals Before You Can Paint Your RV?
Depending on what kind of RV you have, you may be able to get away with painting right over old decals. There’s no good way to hide the raised outline of the decal shapes, but these are generally only visible at close range.
The bigger concern is that the decals will lift over time, especially in a wavy-sided RV.
However, if your vehicle is older than 20 years, the decals are most likely stuck permanently enough that you won’t need to worry about peeling and lifting.
That said, removing your old decals is a fairly simple process, and there are products on the market that make the process easier.
If you want the smoothest possible paint job, your best bet is to remove the old decals before you begin.
Removing Old Decals From Your RV
You can remove vinyl RV decals by applying heat and carefully peeling them away using a blow dryer for heat and plastic razor blades or fingernails for scraping.
This will reveal a ghost image of the decal shape, a section of a slightly different color than the vehicle.
Next, you should remove any glue residue with a product like RapidTac’s Rapid Remover, which breaks down sticky residue from glued-on decals in just sixty seconds.
No products found.
How to Repaint Your RV
For the best results, you should take your RV to a professional paint and body shop for a new coat of paint.
However, because this can cost over a thousand dollars and does not leave much room for customization, you may choose to take on the painting project yourself. If you do, follow these steps for the best outcome.
- Purchase primer, a color paint, and paint thinner at an auto store. Make sure these are oil-based and rated for use on the correct surface, whether fiberglass or metal.
- If your RV is dent, purchase sandpaper and a body filler.
- Rent a paint spray gun and a compressor (Do not use a brush!).
- Wash the surface to paint with dish detergent and hot water.
- Let the panels air dry.
- Use masking tape to protect areas where you do not want paint, like doors and windows.
- Apply body filler to dents and sand it down until the surface is smooth. Wash and dry any sanded areas again.
- Mix the primer and paint thinner and pour it into the paint gun, with the compressor set to 50 psi.
- Spray the paint from side to side, avoiding any drip formation.
- Clean the paint spraying gun by pouring in and spray only paint thinner until you see no more paint.
- Pour color paint into the chamber and follow the same steps again.
- Once the paint is almost dry, spray a second coat.
- (Optional) Once that paint is dry, apply a coat of clear paint for extra protection.
- When the final coat of paint is almost dry, remove the masking tape.
This process requires patience and a steady hand and can be done by someone with some experience. Otherwise, the result can be very rough and messy.
Make sure that you also take good care of your RV once it’s been painted so that your work will last as long as possible.
Taking Good Care of Your RV’s Exterior
You can protect your RV’s paint job and decals by following these guidelines for good RV care and maintenance.
- Do not park in direct sunlight, even if you have a car cover. UV rays can cause fading even through a cover.
- Do not park under a tree. Water can collect more easily when leaves gather on your roof, which can not only cause molding but also stain over your paint.
- Do not use harsh cleaners or abrasives like pressure washers. Instead, use car shampoos with polish to clean and add protection at the same time.
- Avoid power buffing too much.
- Wash off debris from the road as soon as possible, as bugs and road tar can leave stains.
- Stick to paved roads. Dirt roads can dirty your paint job, and gravel can gouge the vehicle.
- Do not use spray cans to touch up spots. Instead, use a toothpick to dab on just enough paint to level it with the original paint.
Can You Restore Old, Faded RV Decals?
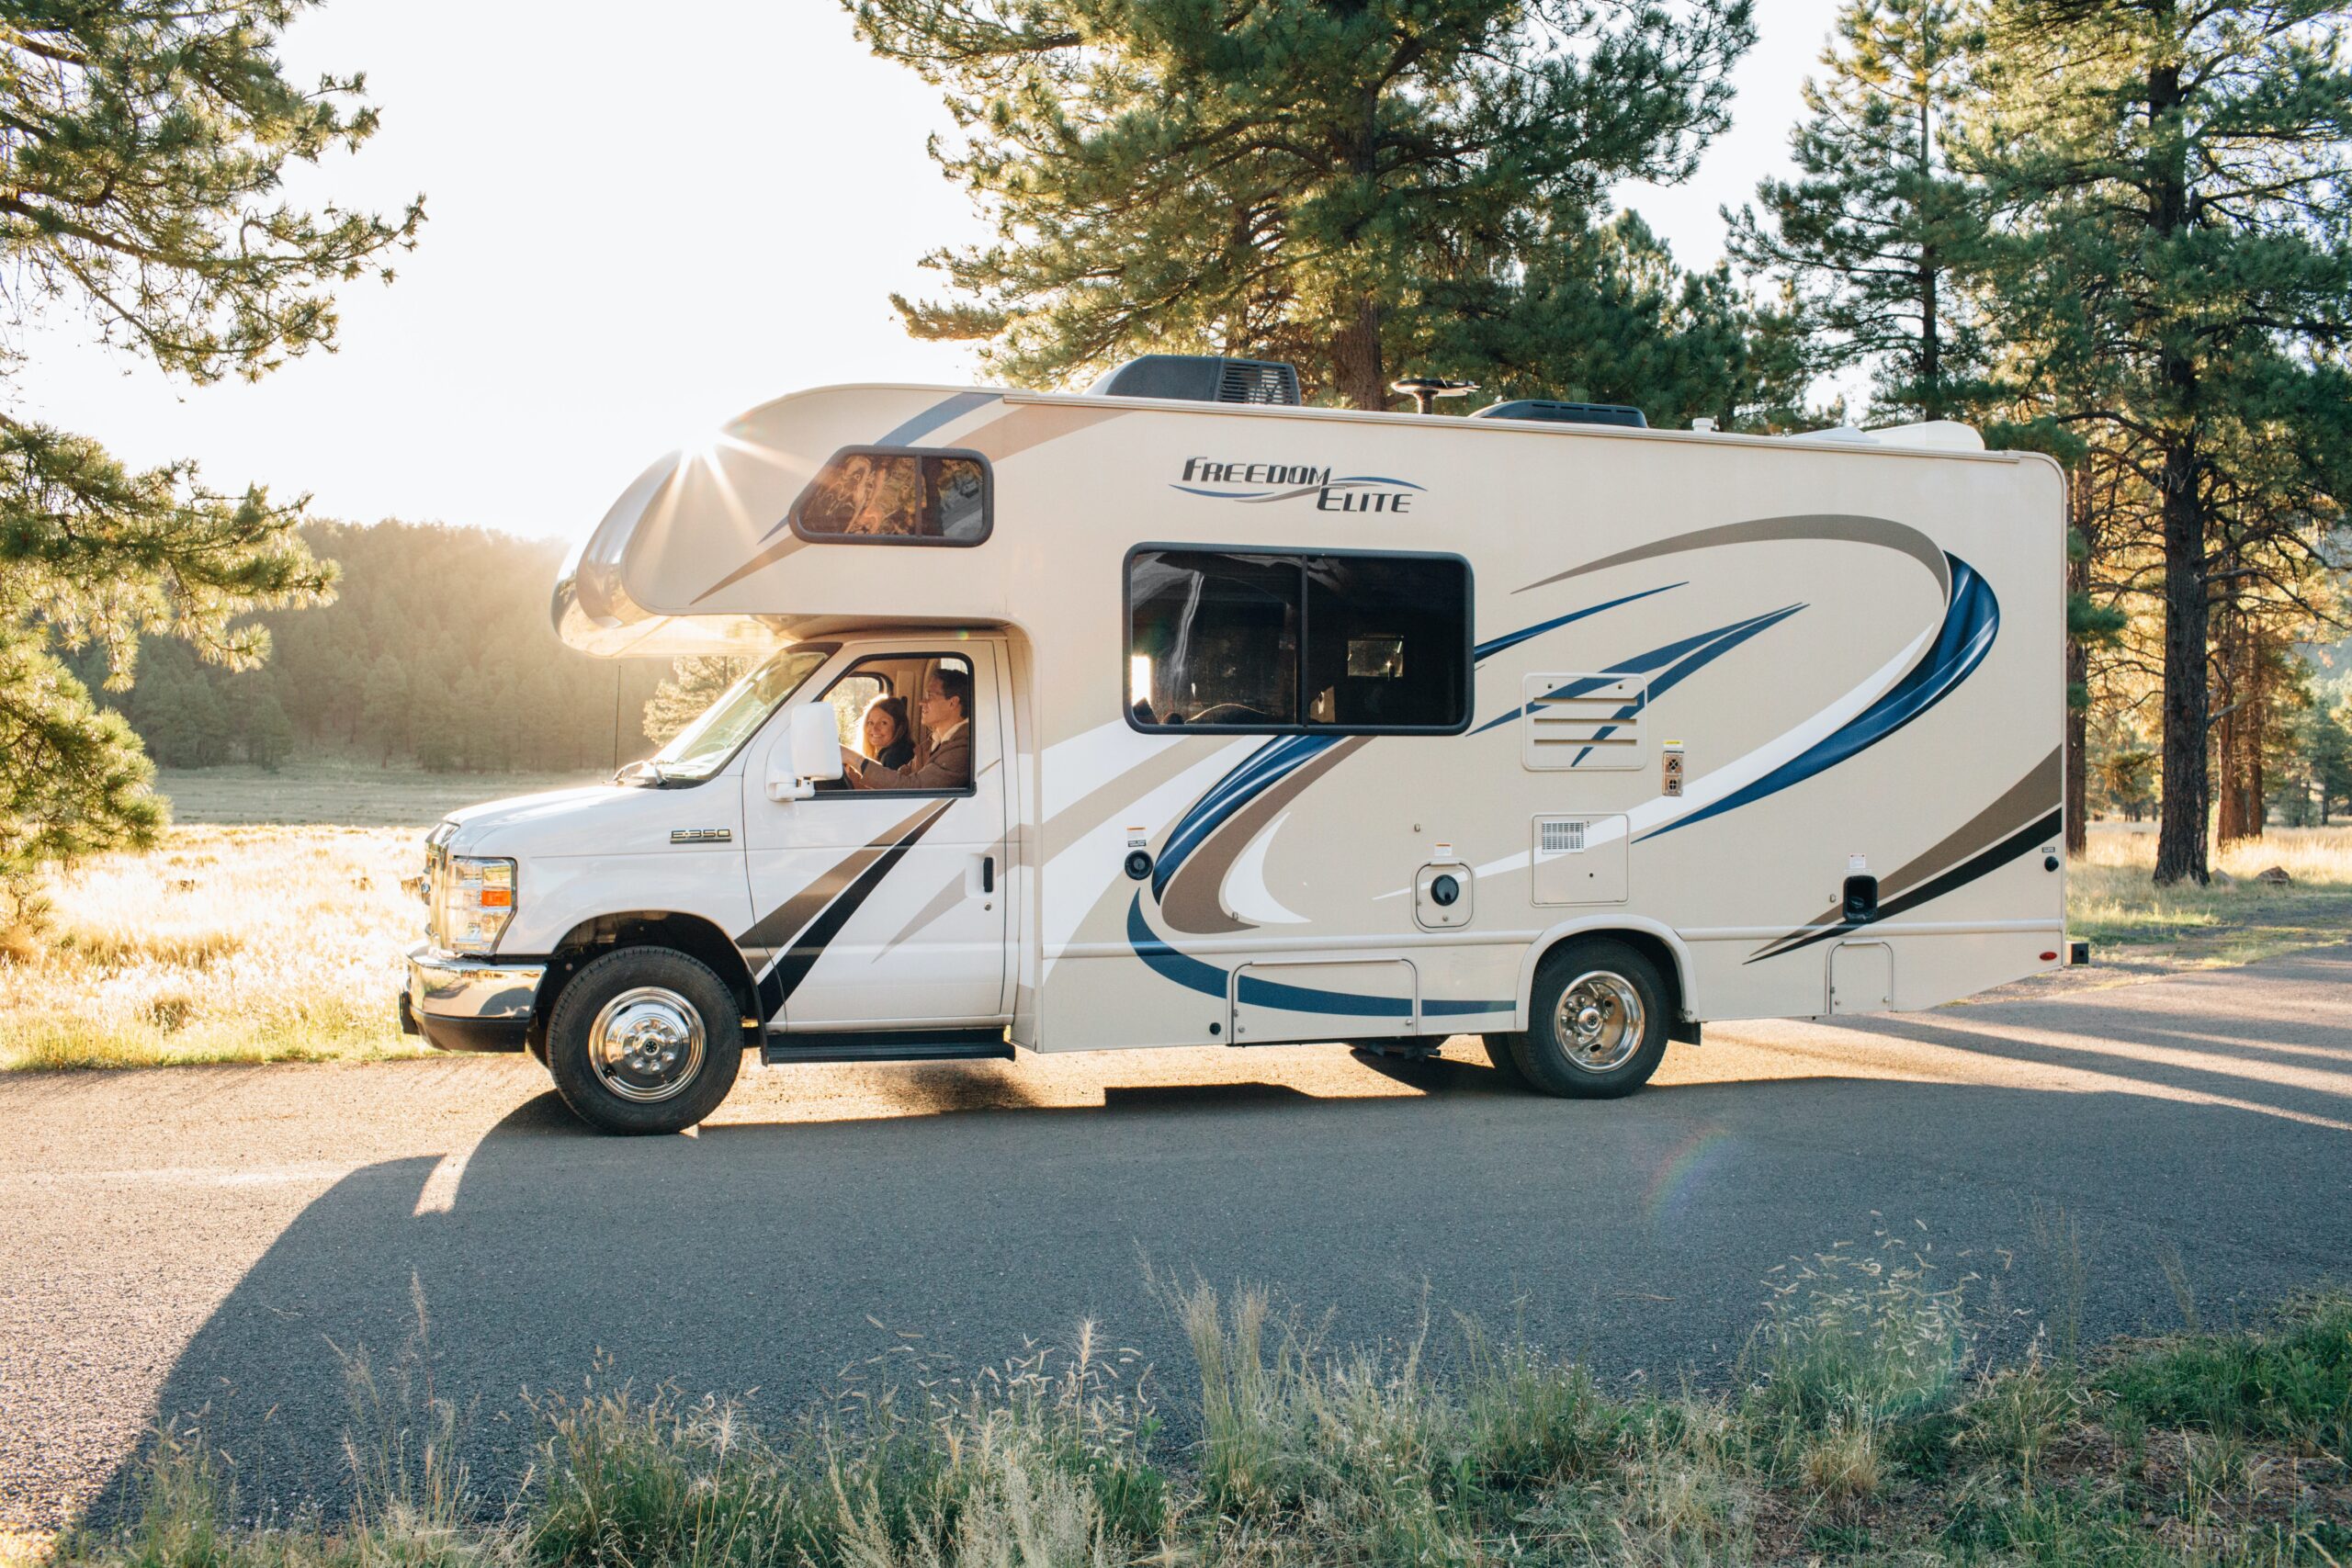
RV decals are made from vinyl and are prone to sun damage due to UV radiation.
This causes them to crack and fade over time, and many cleaning products used for RVs accelerate this process.
Waxes, in particular, cause more deterioration, like peeling.
Whether you want to refurbish your existing decals or completely replace them, you have a few options for sprucing up your faded designs.
Do Not Repaint a Decal
Although you may be tempted to paint over the decal design to cover up cracks and fading, know that this makes it harder for you to replace a damaged panel in the event of a collision and that the paint is unlikely to last a long time.
Instead, remove the old decal and replace it with a new one, or repaint the vehicle panel to cover the ghost image.
Although these options are more expensive, they will also allow you to have a longer-lasting design that looks sharp and is resistant to future wear and tear.
Replace RV Decals With New Ones
If you’re looking for decals specifically suited to your vehicle, contact the manufacturer to see whether they sell them as replacement parts.
You can also purchase extra decals ahead of time in anticipation of the need for replacement, but keep in mind that they only have a shelf life of two years or so and need to be stored flat or on a cardboard roll.
Use a combination of heat (applied with a blowdryer), a scraping tool, and glue remover like RapidTac’s Rapid Remover to remove the old decals and adhesive before you begin, and see the following video for a demonstration of the entire replacement process:
Lamination can save your decals from fading by protecting against UV rays and acid rain, and debris from the road.
If your graphics have faded very quickly, likely, they were not laminated, and that any replacement graphics should be laminated so that they last longer.
Clean Your RV Decals
If you’re looking to bring old decals back to life, you’ll be glad to know that you don’t necessarily need to reach for the paint to make it happen.
Although that is an option, there are cheaper and easier ways to go about rejuvenating and old design.
With Rejuvenate Restorer Wipes, water, and a green-backed scrubbing sponge, you can remove dirt and grime that gives the decals a faded appearance, although this won’t reverse the effects of sun damage or repair cracks or peeling sections.
No products found.
You can also try McKee’s RV Vinyl Decal & Graphic Restorer, which uses deep-penetrating oils not only to remove dirt and grime but also to add a water-resistant coating to the graphic that will protect it from future contaminants and UV rays.
No products found.
This restoring oil is best used with a microfiber towel, which you can use to work small amounts into the surface until it is absorbed.
Conclusion
You may be able to get away with painting over RV decals, but a better and more permanent solution is to remove the old ones and then paint over them. You can remove old decals fairly simply, although professionals can remove old decals, paint the vehicle, or install new decals.


